Thursday, September 12, 2013

Passport cover

Fun quick cover. I made a passport cover for a friend. I used stickers so it was very quick and turned out so great. I am totally making one for myself next.

The clear plastic case is from Etsy and the stickers are from the Travel Girl Shape Stickers by October Afternoon


Wednesday, September 11, 2013

Monster cards

Halloween is just around the corner in the US and You can see so many monsters/ghost cards popping everywhere, so in that spirit, here are my monsters cards


Tuesday, September 10, 2013

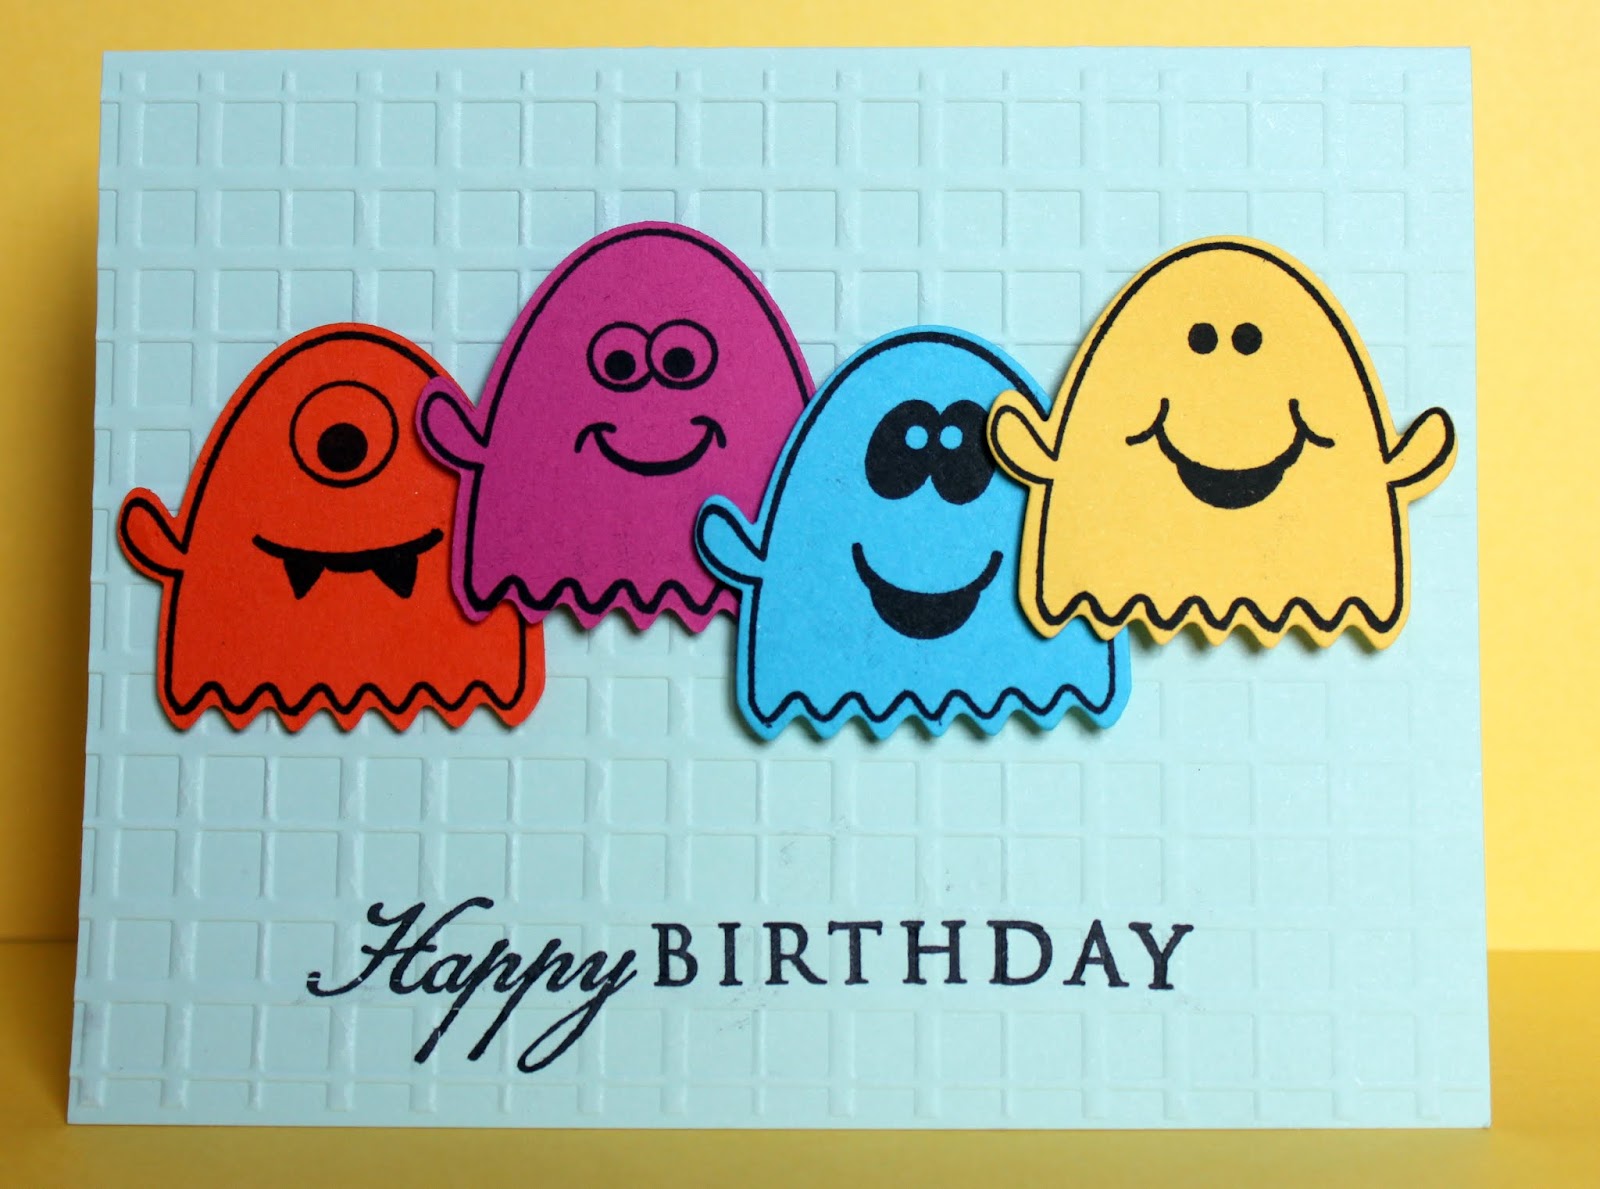
Happy Birthday

Quick post today...


Inside:


Monday, September 9, 2013

Best washi tape storage and display (and packing paper storage solution)


Today I want to show you a very cool solution I found to storing my washi tapes.

I had a few requirements from my store solution:
1. That I will be able to see all of my collection with ease. Just a quick look and I can find the one I want.
2. That it will be easy to take the one I want. I didn't want to remove 7 tapes to get to the one I want.
3. In case of need, I wanted to be able to take the entire rack with me to the table.

I found the perfect solution in the kitchen section at Ikea (believe it or not). I found that the Pot lid organizer (Israel link / UK link / US link via Amazon) is working great with washi tapes. If you don't have Ikea in your area, here is a very similar item from Aliexpress

Since I wanted to be able to take the rack with me, I didn't screw it to the wall, but used the
large plastic hook from 3M (by the way - if you are not familiar with this product - buy one! it comes in all sizes and it's one of the best things to have around the house, I use it for so many things).


I also bought the trash can at Ikea  and hooked it on the side of my billy book case (again with Command hooks) and it's the perfect size for all my wrapping papers.


So what do you think??

Saturday, September 7, 2013

Another round of Magent Note Holders

Another round of the magnet note holders (more here, here and here)


Friday, September 6, 2013

Butterfly magnets

Quick post about a fun butterfly magnet I prepared as a gift.

I printed the Butterflies from Flutterbies Printable  from Hero arts on white cardstock and then colored with copics.

I then cut it. Half I cut with scissors and half with the Silhouette - The Silhouette was much easier :-)

I then covered it with glossy accent and waited until it was fully dry.


To finish I added magnets at the other side and voila! it's ready to be given as a gift.


I decorated a few boxes I had on hand to put the magnets in.


Thursday, September 5, 2013

My Baby is 4...

I can't believe it but my baby girl turned 4 at the end of August and being born after two boys we had to have a pink fairy birthday.

We had so much fun and I want to show a few of the crafty things I prepared for the birthday party.


Part of the decoration was a tutu wreath (idea from here). The text says: Maya is 4 and I cut it with the Silhouette and covered the number 4 with washi tapes.


 The chair also got a little dress with fun flowers.


For the activity the girls prepared fairy wings (idea from here) and a fairy wand.

The wings were decorated with stickers. I prepared the wings ahead of time and the girls decorated them during the party and then has a blast wearing them. You can see that my daughter got a visit from a real fairy (our 13 years old neighbor) 


 For the wands handle I had my husband buy and cut some wood. I colored it with Silver paint. For the top of the wand I used styrofoam balls that I glued to the stick.

The girls covered the balls with white glue and then purred glitter in all colors on top of the glue.

It was lot of fun. I am SOOOO happy it was done outside in the yard. I think I still see glitter in the grass 3 weeks after.... :-)


Waiting for the glue to dry

Close up to how glittery it turned out.


Group picture after adding the silk ribbon to each wand


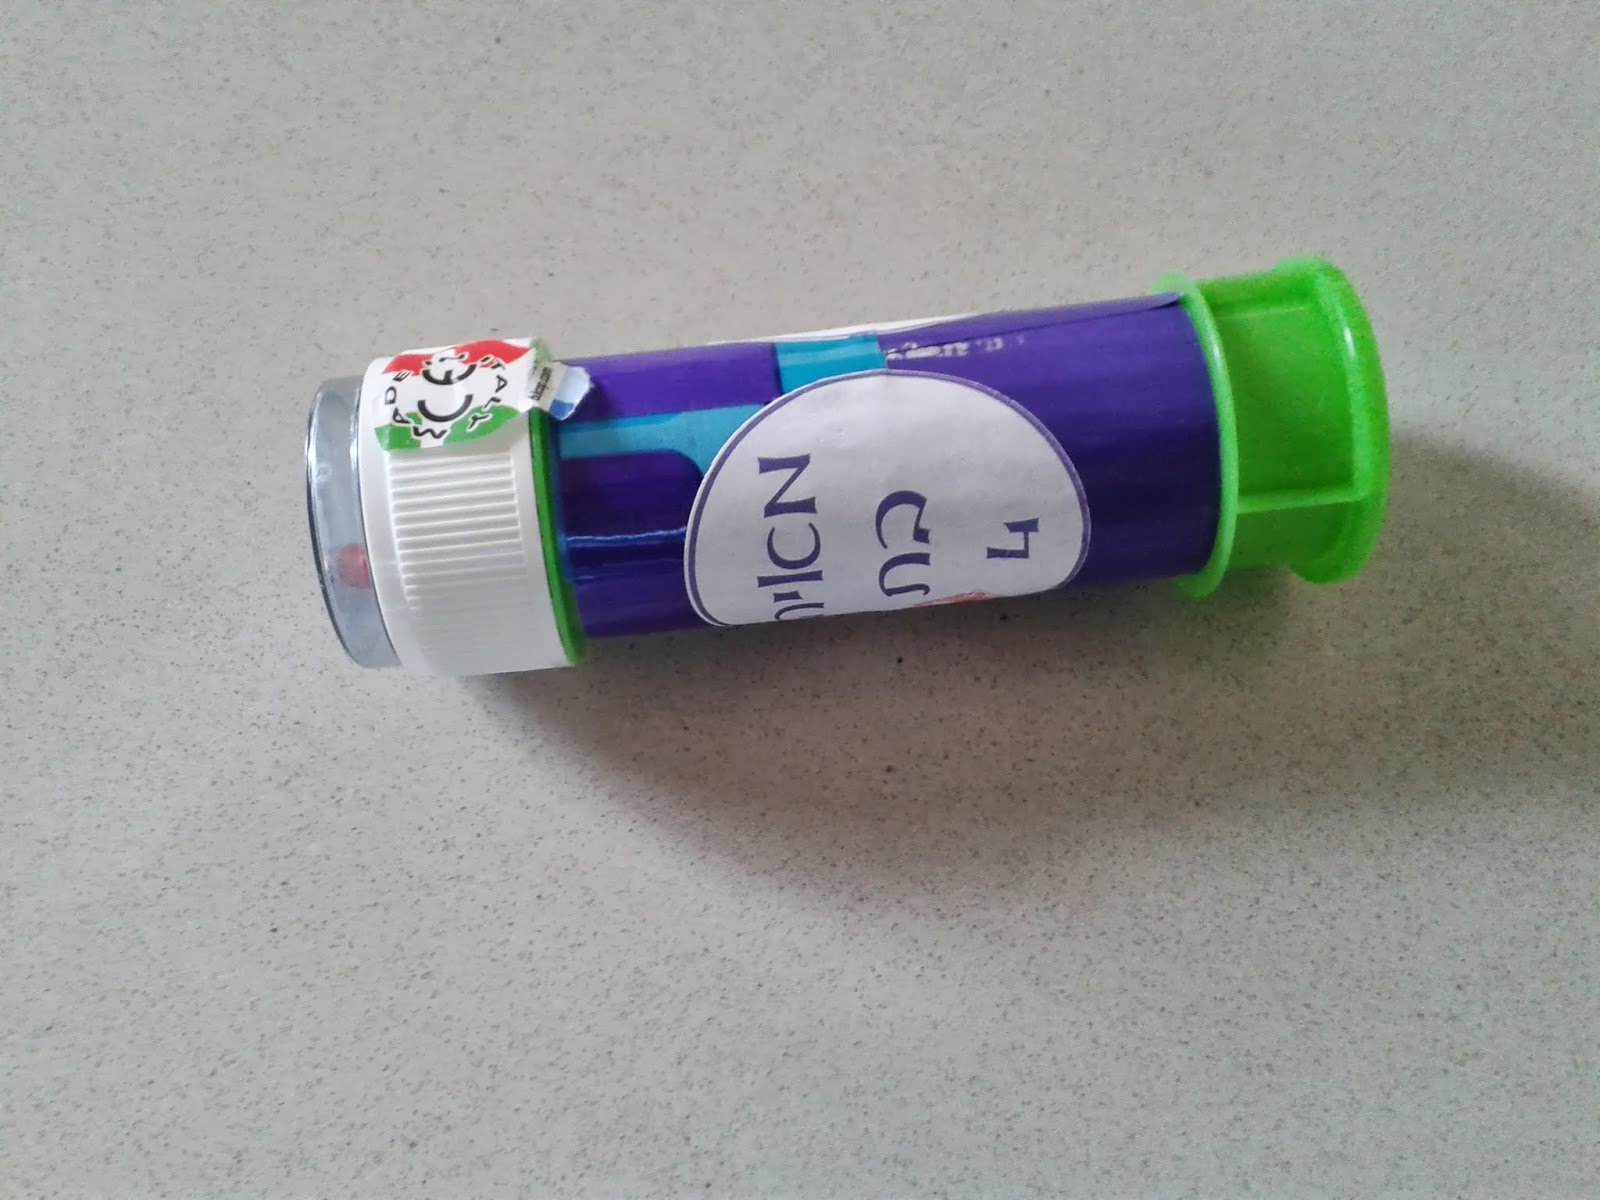
Each girl got bubbles from the fairy to play with during the party. I bought a bunch and covered them with Scotch/3M duct tape. That was super easy and covered the original paper completely.

I then printed my own fairy and writing (Maya is 4) on sticker paper and cut it out using a circle punch.


When the girls left each got a lolly pop and a ring (not shown in the picture). The lolly pop case was made with the Die-namics Lollipop Treat and the Doodlebug take note paper collection.

 
And of course, no party is completed without a cake. I designed the fairy page on my computer and printed it on rice paper that you can eat (it's a special type of ink of course and you do it in the store).


Lastly, I made another cake for my daughter for her day care party. She specifically requested a rainbow cake.



הודעה בנוגע ללינקים באתר

בחלק מהלינקים באתר (אמזון, סקראפבוק וסיימון) יש לי שיווק שותפים שזה אומר שאם אתם קונים מהלינק שלי אני מקבלת עמלה קטנה ולכם זה לא עולה יותר (באמת שלא... בדקתי את זה).