Saturday, November 12, 2011

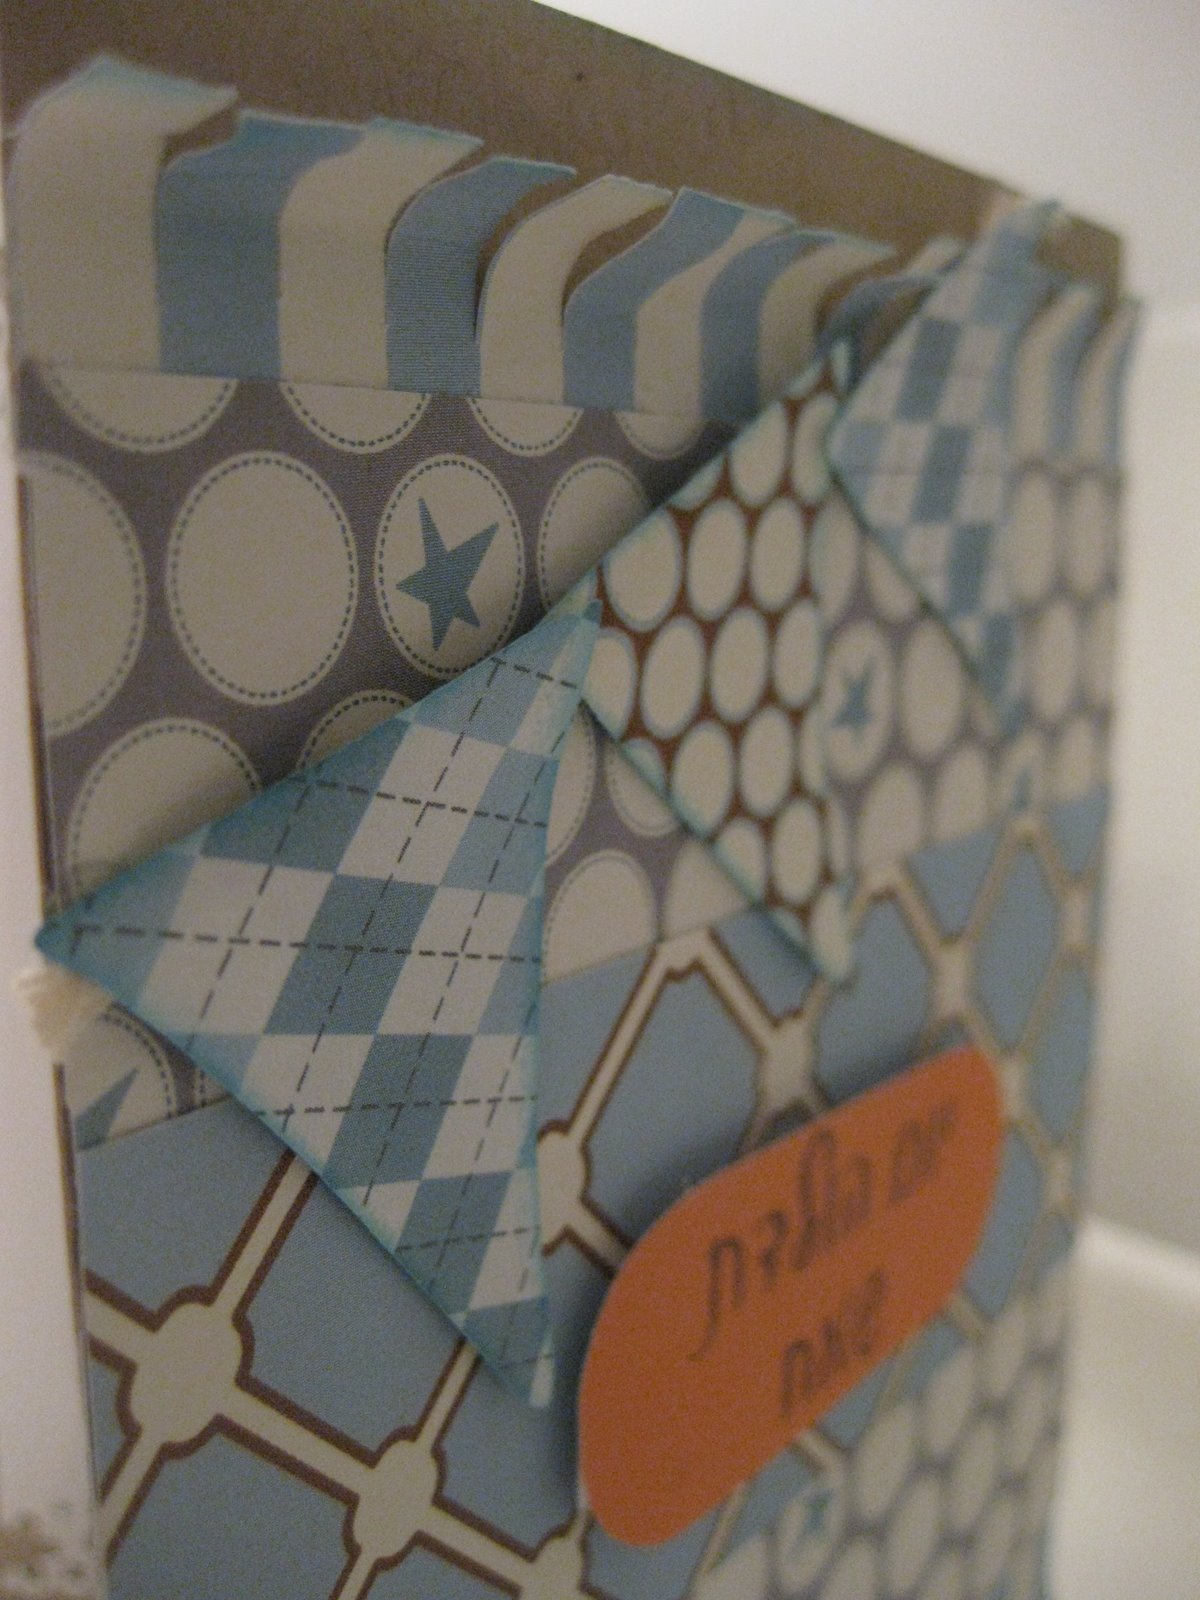
Magnet note holder - Recycle project

Like I said in my last post, lately I am on a kick to recycle cereals boxes, the thickness of it is just right, it's sturdy but still I can cut it fairly easily.

The inspiration for this magnet note holder came from the table note holder that I saw on Shipola's blog. I have less use for a note holder you put on a table, but I really wanted something nice for the refrigerator.

The base is from cereal box, wrapped with patterned paper, and the note holder is made from card stock, I tried patterned paper with the first one, but card stock is holding much better.

For the back I am using a magnet so it will hold on the refrigerator.

I made one for myself and then 2 for friends, and then 2 for my mom, mother-in-low and then finally one for my brother. 

I am really loving this, so I am sure I'll make a few more. I you want one - just say the word :-)

In the following pictures you can see the ones I made so far, I am using lots of products from various companies, but the majority of pattered paper is from Tsorya Ilan.


I am also entering this project into this week's challenge from Simon Says Stamp and Show -  Up-Cycling/Re-Cycling.


Tuesday, November 8, 2011

Post it covers - Recycle project

Lately I am on a kick to recycle cereals boxes. 

So when I saw that this week's challenge from Simon Says Stamp and Show some is  Up-Cycling/Re-Cycling - I knew this is the time to blog about it.

I saw numerous youtube videos on how to create a cover for post-it notes and I had great time adjusting it to my needs and creating the two post-it covers that I will show below.

The outside:
Side view:

Inside view:

Here is the second one I made. I am in love with this cute designer paper from Tsorya Ilan. I made the rosette myself and I am really happy with the way it turned out.

Inside view:

Sunday, November 6, 2011

Happy Birthday

This card is a happy birthday card. 

For this card I used a few stamps sets that I really love.

For the background I used the Clouds background by Hero Arts. For the clouds and the butterfly I used the Horray stamp set by Hero Arts / Studio Calico and the Fiskars cloud punch. The grass is cut with the MFT grass die, the bicycles are from the Cruising Through Life from Lawn Fawn, and the sentiment is from the Find Joy stamp set by Hero arts. (link below in the supplies list).


I used glossy accent and rhinestones on the butterfly and flowers.


Here is a close up on the layers.

And the inside of the card. Here I used a stamp from the 2011 Birthday Tags stamp set from Papertrey Ink.


I am submitting this card to the Lily Pad Cards Kathy's Color Palette challenge.

Supplies:

Anouther YCU Masculine Card

Today I have antoher masculine card for the Young Crafters Unite Challenge no #3.

I created a quick card for a birthday.

It is made with the great design paper by Tsroya Ilan, and I am using Quickutz die for the flags  - it is actually a party hat that I reused in a creative way :-)

The Hebrew saying is: "Happy Birthday"


 I punched a white paper with one of the Marth Stewart punches to make sure there is enough room to write. I really like giving the inside of the card a special touch as well.


 Here is a close up on the flags and the top layer of the card.


List of supplies:

Friday, November 4, 2011

YCU blog hop - Masculine Cards

Today I am really excited to participate in my second blog hop for the Young Crafters Unite - Masculine cards blog hop 


If you arrived from Kyla Norris's blog, you are on the right track.

For the blog hop, I decided to create a baby boy waterfall card. It's a card for a family that just had a baby boy after two girls, they have no idea what is in line for them... :-)

The inspiration for this card was from Shipola's blog that created a waterfall album. From there it was easy to find how to create a waterfall card (my beloved youtube came to the rescue once more).

So here is my creation:

General overview of the card. I used the Lawn Fawn - Plus One stamp set. I really love it. The images are so sweet.
 

Few pictures of how the waterfall works:

The greeting is in Hebrew and it's saying: "congratulations and wishes from all my heart" (yes, I know it doesn't really translate well, but believe me, it sounds OK in Hebrew).
The heart is from the Hero Arts - Find Joy stamp set.

I even created a matching envelope. And since it is a masculine card, I had to stop myself from adding some glitter and blings :-)


And now, the real surprise, my first YouTube video - just a very quick video to show you (if you are not familiar) how the waterfall works.


List of supplies:


If you made it until here - thank you. I would love to hear what you think of this card. Be sure to leave a comment on all the members of the hop for a chance to win some wonderful prizes! The sponsors for this hop are Simon Says Stamp who will be donating two $25 gift certificates and Paper Smooches who will be giving away the new My Guy stamp set. The winners will be posted on the YCU blog on Tuesday, November 8. 

Next step on the bloghop is the very talented Donna Bowman. Have a great weekend!

I am also posting this card on the Young Crafters Unite Challenge #3 - Masculine Cards

Monday, October 31, 2011

Just because card

This card was made with no one specific reason in mind. Both my brother and my friend Hana has brought me some new stuff I ordered from the US and I really just wanted to try it all without delay.


It took me some time to create it as I used so many tools, dies, stamps and inks, but I had lots of fun while doing it.

I am also really in love right now with the combination of punch-stamp set.

For this card I used the cloud stamp from the Hero Arts HORRAY stamps set and the Fiskars Cloud punch. There are two punches that work well with this set - the Large one with the dotted cloud and the x-large for the woodgrain cloud - just love this combination!!

Here is the list of supplies I used:


I am submitting this card to:

Thursday, October 20, 2011

Stationery Box

Last week I showed you a Happy Birthday card that was part of a big project, and today I want to show you the entire project.

It's a Stationery Box gift to my dear friend, Idit. I saw a tutorial to this box on Splitcoaststampers and on many youtube videos.

This is how the box looks when it's closed.


Inside the box there are 4 empty greetings cards for the use of the recipient, post it memo pad and 3 markers. Here is a picture of the entire gift with everything.


Some close ups.


The butterflies and some bling.


 Two 3*3 cards with matching envelopes.
 

One of the big cards. The Hebrew saying is Happy Birthday.
 

Here is used my very beloved PTI happy birthday set.


 The gift was received with much love and Idit, my friend, was very happy.

הודעה בנוגע ללינקים באתר

בחלק מהלינקים באתר (אמזון, סקראפבוק וסיימון) יש לי שיווק שותפים שזה אומר שאם אתם קונים מהלינק שלי אני מקבלת עמלה קטנה ולכם זה לא עולה יותר (באמת שלא... בדקתי את זה).